
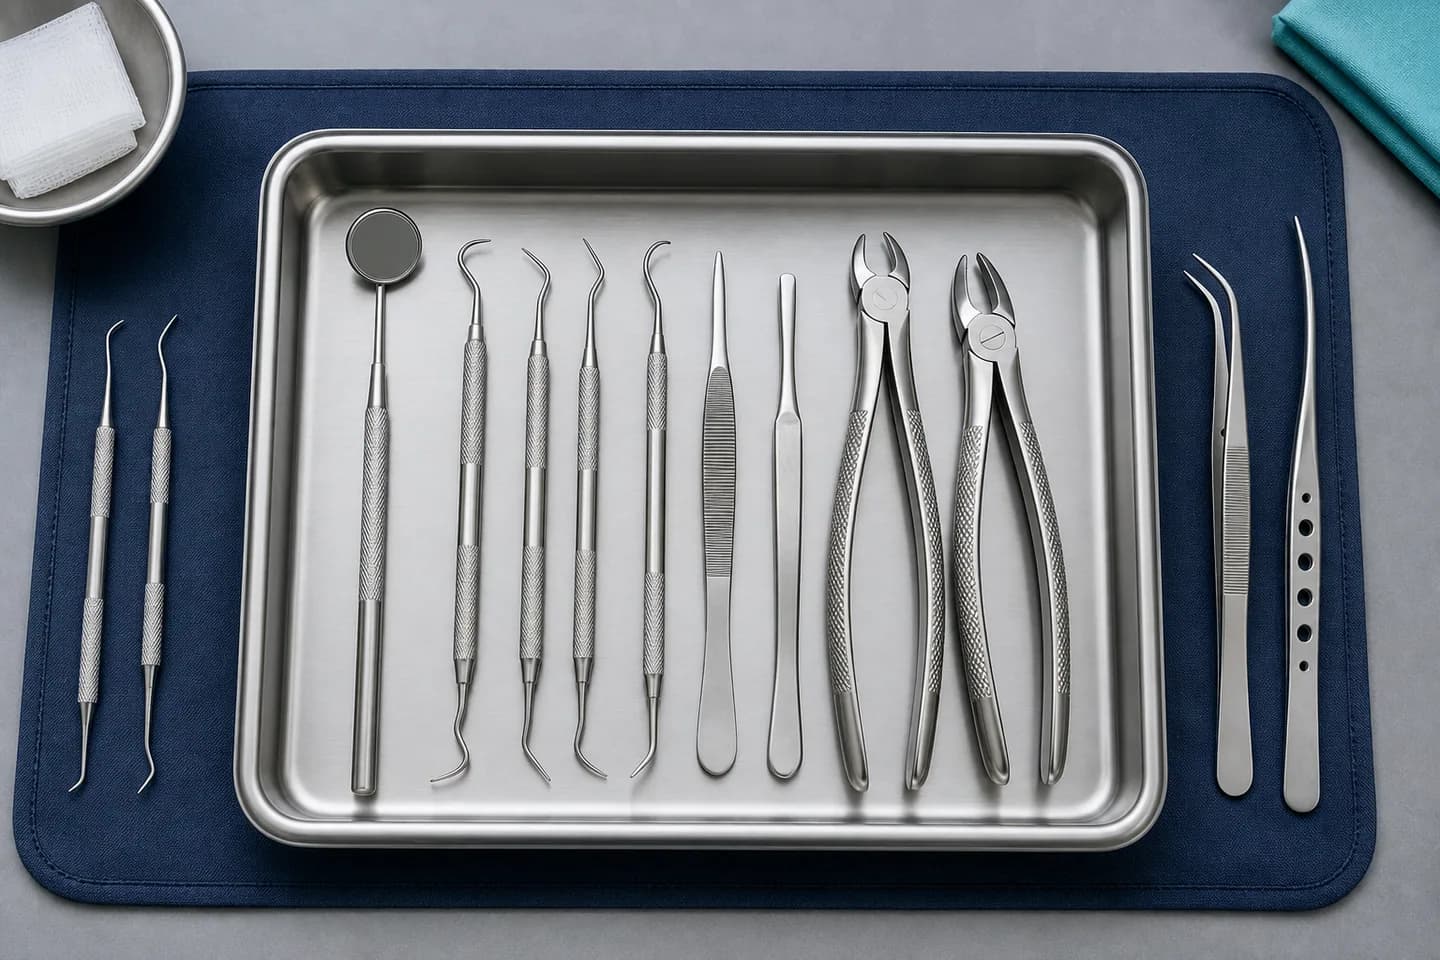
Bracket placement and removal tools control how accurately brackets are bonded and how safely they are removed. Placement tools improve visibility, measurement, grip, and adhesive control; removal tools apply controlled force while preserving enamel and minimizing residual adhesive damage. Because bracket position drives tip, torque, and rotation in straight-wire mechanics, the tools used to place and remove brackets have a direct effect on finishing and treatment time.
Why bracket placement accuracy matters
Bracket position is not just a bonding detail; it determines tip, torque, rotation, in-out relationship, and marginal ridge alignment. Because a tooth's surface curvature changes with height, even a small vertical placement error alters the torque expressed on the tooth, which can require repositioning, extra wire bending, or longer finishing. Consistent measurement, good visibility, and controlled bracket handling reduce that guesswork, which is why positioning gauges and precise tweezers exist.
Bracket placement tools
A bracket placement setup combines field-control, handling, measurement, and adhesive-cleanup instruments. Each addresses one source of placement error.
- Isolation and visibility: cheek retractors, suction, cotton rolls or dry-field aids, mirrors, and lighting keep enamel dry and visible during etching, bonding, and curing. Moisture contamination is a classic cause of bond failure.
- Bracket holding tweezers: reverse-action, direct-bond, and self-ligating holders pick up, orient, and carry brackets. Reverse-action tweezers hold until squeezed, improving control on small or adhesive-coated brackets without crushing wings.
- Positioning gauges: Boone gauges, height gauges, and star gauges measure slot height from the incisal edge or cusp tip, standardizing vertical placement — provided the gauge is aligned to the tooth's long axis.
- Bracket pushers/seaters: press the base fully into adhesive with controlled pressure, without sliding the bracket off position.
- Adhesive flash removers: explorers, scalers, and microbrushes clean excess resin from the bracket margins before curing, reducing plaque traps and easing later debonding.
Bracket placement workflow
- Confirm the prescription, bracket type, and tooth chart (metal, ceramic, self-ligating, or lingual).
- Prepare the field with retraction, suction, and isolation so the bonding surface is dry and visible.
- Prepare enamel per the bonding system: prophylaxis, etch, rinse, dry, prime, and adhesive.
- Load the bracket with the correct tweezer without contaminating the base, and seat it lightly at the planned location.
- Measure vertical height with a gauge, then check angulation against the long axis and mesiodistal position.
- Seat and stabilize with a pusher, remove adhesive flash, then light-cure and re-verify position and occlusal clearance.
Direct bonding places one bracket at a time chairside and relies on tweezers, gauges, and verification; indirect bonding uses a transfer tray from a model-based or digital setup, shifting the emphasis to tray fit and clean seating.
Bracket removal and debonding tools
Removal begins by clearing wires and ligatures, then debonding the brackets and cleaning residual adhesive without damaging enamel.
- Archwire and ligature removal: ligature cutters, distal end cutters, and Weingart or Mathieu pliers clear wires and ties safely before debonding.
- Metal bracket debonding pliers: apply controlled force at the wings or base to break the adhesive bond; slight bracket deformation helps release.
- Ceramic bracket removal pliers: ceramic brackets are brittle, so bracket-specific pliers or techniques reduce the risk of fracture and enamel stress.
- Adhesive removal burs and polishers: tungsten carbide burs, polishing discs, rubber cups, and pumice remove residual resin. Evidence indicates tungsten carbide burs leave the lowest enamel roughness while diamond burs leave the most, and polishing improves smoothness regardless of the removal system.
How to select bracket tools
| Factor | Selection guidance |
|---|---|
| Metal brackets | Standard tweezers and debonding pliers |
| Ceramic brackets | Ceramic-compatible holders and removal pliers |
| Self-ligating brackets | Tools that avoid damaging doors and clips |
| Lingual brackets | Low-profile, angled instruments for access |
| Posterior / crowded teeth | Longer shanks, angled tweezers, strong retraction |
Browse orthodontic instruments, and see the companion guides on essential orthodontic pliers and wire cutting and bending instruments.
Sterilization and infection control
Bracket tweezers, gauges, and pliers are reusable intraoral instruments that must be cleaned and heat-sterilized between patients. Per CDC and ADA guidance, heat-tolerant semicritical items should be sterilized using heat, cleaning must precede sterilization, and sterilizer monitoring is part of an effective infection-control program. Inspect instruments for bent tips, worn jaws, corrosion, and adhesive residue before reuse.
Frequently asked questions
What tool is used to place orthodontic brackets?
Bracket holding tweezers (often reverse-action), positioning gauges such as a Boone gauge, bracket pushers, mirrors, explorers, and adhesive-cleanup instruments are used to place brackets accurately.
What is a Boone gauge used for?
A Boone gauge measures bracket height from a tooth reference point, such as the incisal edge or cusp tip, to the bracket slot, helping standardize vertical placement.
How is adhesive removed after braces come off?
Residual adhesive is removed with finishing burs (tungsten carbide leaves the least enamel roughness), adhesive removers, and polishing discs or cups with pumice, aiming to preserve enamel smoothness.
Building a bonding and debonding setup? Request a quote for tweezers, gauges, and debonding pliers.