
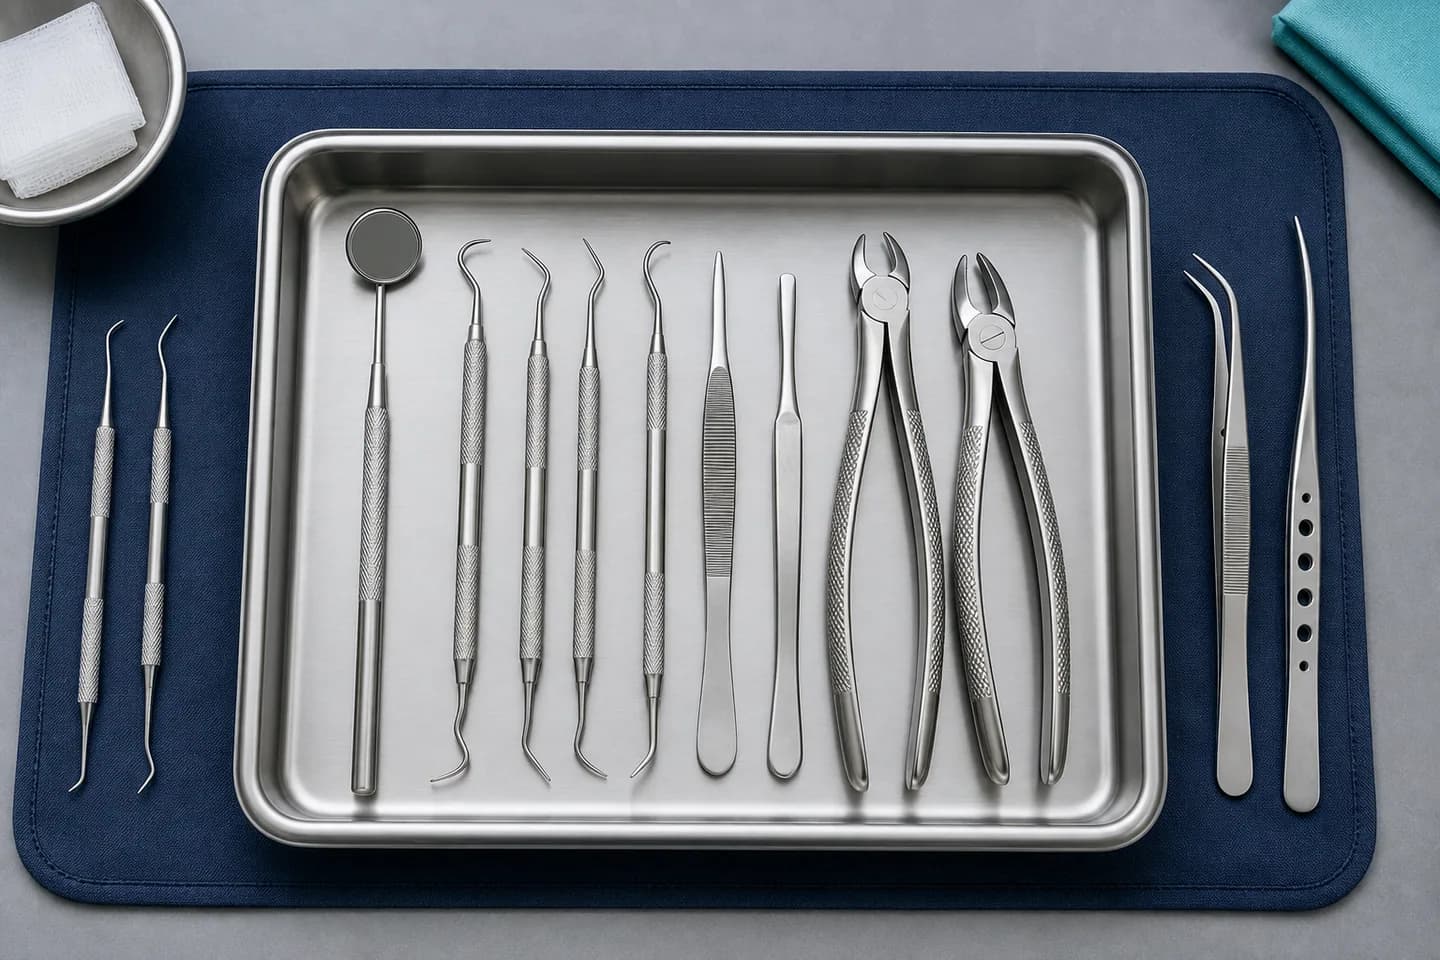
Dental impression tray selection strongly affects the accuracy of a conventional impression. The right tray supports the impression material, captures the required anatomy, resists flexing, provides retention, and allows removal without distortion. Choose a tray by procedure, arch size, material type, rigidity, retention, patient anatomy, and infection-control requirements. A good impression starts with the tray, before the alginate, VPS, or polyether is even mixed.
Why impression tray selection matters
The tray controls where the material flows, how thick it stays, how well it resists distortion, and whether the final cast represents the mouth accurately. A flexible plastic tray may suit a quick opposing model but not a high-precision fixed prosthodontic impression, where a rigid tray better supports the material and pushes it into the areas that must be recorded. A poor tray choice causes voids near margins, unsupported material, tray show-through, distortion on removal, poor bite registration, and laboratory remakes — so a tray that saves thirty seconds at setup can cost far more later.
Stock vs custom, metal vs plastic
Trays fall into two pairs of choices. Stock trays are preformed in small, medium, and large sizes and suit diagnostic models, opposing impressions, orthodontic records, and many routine cases, provided they fit the arch without compressing tissue or leaving excess material. Custom trays are fabricated for a specific patient on a preliminary cast and give more uniform material thickness and better extension for complete dentures, implant impressions, and complex prosthodontics. On material, metal trays offer rigidity, durability, and reusability for dimensionally demanding elastomeric impressions, while plastic trays are lightweight, inexpensive, and often disposable but vary in stiffness and can distort in undercuts.
Perforated, non-perforated, and rim-lock trays
| Tray retention | How it holds material | Typical use |
|---|---|---|
| Perforated | Material flows through holes and locks mechanically | Alginate and many elastomerics |
| Non-perforated (solid) | Relies on tray adhesive and containment | Some single-impression techniques (e.g. monophase polyether) |
| Rim-lock | Raised internal lip retains material | Improved attachment, often with adhesive |
Even with perforated or rim-lock trays, adhesive may still be recommended depending on the impression material and manufacturer instructions.
Matching the tray to the impression material
| Material | Common use | Tray guidance |
|---|---|---|
| Alginate | Diagnostic casts, opposing, ortho records | Perforated stock tray extending into the vestibule |
| VPS (addition silicone) | Crown & bridge, implants, indirect work | Rigid metal or custom tray; adhesive for dual-viscosity |
| Polyether | Fixed prosthodontics, implants | Solid, rigid tray with adhesive; plan removal path |
| Compound / edentulous | Complete denture impressions | Stock edentulous tray, then custom tray with border molding |
Tray selection by procedure
Match the tray to the case. For diagnostic casts and study models, alginate in a perforated stock tray that captures all teeth, the vestibule, and palate is usually sufficient. For crown and bridge, rigidity is the priority so margins and contacts are captured without distortion; a rigid full-arch tray, or a dual-arch tray for single units with stable occlusion, may be appropriate. For complete and partial dentures, custom trays are often preferred because they allow border molding and controlled material thickness over the ridge, vestibules, and tuberosities. For implant impressions, open-tray techniques need access windows for impression copings and closed-tray techniques use conventional designs, with tray rigidity critical to a passively fitting prosthesis. For orthodontic and appliance records, a comfortable full-arch stock tray is usually enough. Browse prosthodontic instruments and restorative instruments.
Clinical fit checklist before taking the impression
- Try in the tray before mixing material — never discover a poor fit afterward.
- Check posterior extension covers the last tooth or edentulous area, and vestibular clearance avoids movable tissue.
- Confirm arch width does not scrape buccal surfaces, and vertical clearance leaves room for material without show-through.
- Apply adhesive if indicated and let it dry per instructions.
- Seat with steady pressure without rocking, then remove along the correct path to prevent tearing and distortion.
Do digital impressions replace impression trays?
Intraoral scanners have changed restorative and orthodontic workflows and can improve comfort and reduce material mess, and studies show digital impressions can reach accuracy comparable to conventional impressions. However, conventional impressions and trays are still used for dentures, removable appliances, implant workflows, opposing models, and practices without full digital integration, so tray selection remains a core clinical skill.
Frequently asked questions
What is the best tray for alginate impressions?
A perforated stock tray is commonly used for alginate because it gives mechanical retention and comes in many sizes. It should cover the required anatomy without impinging on soft tissue.
When should you use a custom impression tray?
Use a custom tray when accuracy, controlled material thickness, or border extension matters — most often for final denture impressions, implant impressions, and complex prosthodontics.
What is the difference between perforated and non-perforated trays?
Perforated trays have holes that mechanically lock the material into the tray; non-perforated trays rely on adhesive and tray design. The right choice depends on the impression material and technique.
Stocking impression trays? Request a quote for perforated, rim-lock, and edentulous trays in all sizes.