
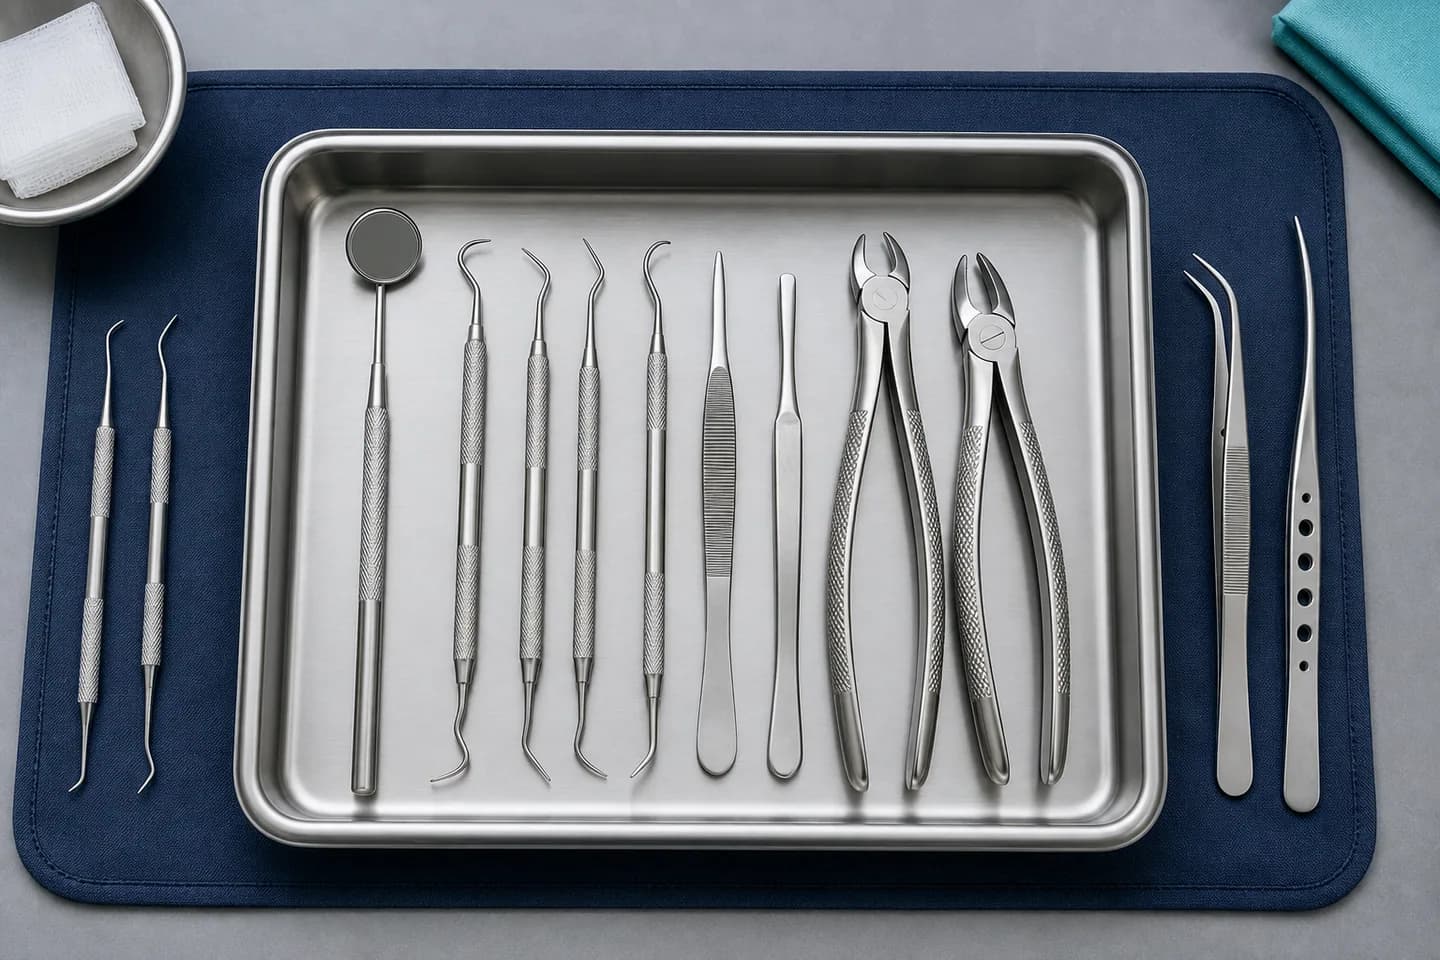
Dental instrument sterilization is a controlled, multi-step process — cleaning, drying, inspection, packaging, autoclaving, monitoring, and storage — not a single machine cycle. The most important principle is that an autoclave cannot reliably sterilize an instrument that has not been properly cleaned first, because blood, saliva, tissue, and biofilm shield microorganisms and interfere with sterilization. The CDC is explicit that cleaning must occur before sterilization. This guide covers how the autoclave works, the full workflow, and how to monitor every load.
What is dental instrument sterilization?
Sterilization is the validated process that destroys all forms of microbial life, including highly resistant bacterial spores, and in dentistry it is usually achieved with steam under pressure because most critical and semicritical instruments are heat-tolerant. It is not the same as cleaning: cleaning removes visible debris and organic material, while sterilization kills microorganisms. A dirty instrument placed in a sterilizer is not "extra sterilized" — it is simply poorly processed and potentially unsafe. The autoclave needs clean, correctly packaged instruments to work.
How a dental autoclave works
A dental autoclave exposes instruments to saturated steam under pressure at a specific temperature for a set time, and the exact parameters depend on the sterilizer model, load type, packaging, and the manufacturer's instructions for use (IFU). Practices may use gravity-displacement, dynamic-air-removal, or tabletop steam sterilizers, and the correct cycle depends on the load: wrapped cassettes, pouched instruments, handpieces, and unwrapped items may all require different settings. Unwrapped ("flash") sterilization should not be used routinely or for convenience, because sterility cannot be maintained once instruments are unwrapped and handled.
The dental sterilization workflow, step by step
- Transport safely — move contaminated instruments to the sterilization area in a covered, puncture-resistant, leak-proof container to reduce sharps injuries.
- Wear PPE — utility gloves, eye protection or face shield, mask, and protective clothing when handling contaminated instruments.
- Pre-clean before debris dries — use a manufacturer-approved holding solution or enzymatic pre-soak if cleaning is delayed; avoid saline, bleach, or household cleaners.
- Clean with automated equipment — ultrasonic cleaners or washer-disinfectors improve consistency and reduce handling; open hinged instruments and do not overload the basket.
- Dry and inspect every instrument for soil, rust, pitting, broken tips, loose joints, and dull edges; remove anything that cannot be cleaned or repaired.
- Package correctly in compatible pouches, wraps, or cassettes without overstuffing or packaging wet instruments.
- Label with the sterilizer, cycle or load number, and date so items can be retrieved if a failure occurs.
- Load the autoclave so steam circulates freely — do not crowd the chamber or block steam flow.
- Run the correct cycle for the load type per IFU; handpieces have their own reprocessing requirements.
- Monitor the load, then cool, dry, and store packages in clean, dry, closed cabinets; reprocess any wet, torn, or punctured pack.
Autoclave monitoring
Sterilization monitoring verifies that the sterilizer actually reached sterilizing conditions, and the CDC recommends combining three methods.
| Monitor | What it checks | Frequency |
|---|---|---|
| Mechanical | Sterilizer time, temperature, and pressure readouts | Every load |
| Chemical indicators | That the sterilizing agent reached the instruments (internal + external) | Inside every package |
| Biological (spore test) | Whether highly resistant spores were killed | At least weekly |
Chemical indicators do not replace biological indicators, because only spore tests measure microbial killing power. If a spore test is positive, take the sterilizer out of service, review for operator error, correct the problem, retest, and document the actions taken. Also check state dental board requirements, which may be stricter.
Common autoclave mistakes to avoid
- Skipping cleaning — sterilization begins before the door closes; debris compromises the process.
- Overloading pouches or cassettes — crowding restricts steam flow and causes wet packs.
- Using the wrong cycle — wrapped loads and handpieces need their specific parameters.
- Removing packs too soon — handling hot or damp packs wicks contamination through the packaging.
Proper reprocessing also protects the instruments themselves; see our guide on preventing corrosion on dental instruments, and organize loads with sterilization cassettes and trays.
Frequently asked questions
What is the correct order for dental instrument sterilization?
Transport, cleaning, rinsing, drying, inspection, packaging, labeling, sterilization, monitoring, cooling, and storage. Cleaning must happen before sterilization because debris shields microorganisms.
How often should a dental autoclave be spore tested?
The CDC recommends spore (biological) testing at least weekly. Also check state dental board rules and manufacturer instructions, which may require more.
What should you do with a wet sterilization pouch?
A wet pouch is considered compromised, and the contents should be reprocessed before use on a patient.
Setting up a reprocessing area? Request a quote for cassettes, trays, and sterilizable instruments.